PiHole
- KevinsinghJ
- May 4
- 5 min read
In this article, we’ll be outlining on how we can perform the setup of PiHole in Ubuntu and a walkthrough on how it works. PiHole is basically a network-wide ad blocker that works as a DNS sinkhole. It intercepts DNS requests and blocks ads, trackers, and malicious domains for all devices on your network. It is usually installed on Raspberry Pi but you can also install it on any other linux based machines. In our case here, it’d be in virtualized Ubuntu in VirtualBox.
So let’s begin..
PiHole Setup
You can head over to https://github.com/pi-hole/pi-hole and run the commands as shown under Method 2: Manually download the installer and run

So on my ubuntu machine, i’ll begin by running the command wget -0 basic.install.sh https://install.pi-hole.net followed by sudo bash basic-install.sh

It’d be shown as below after running both the commands.

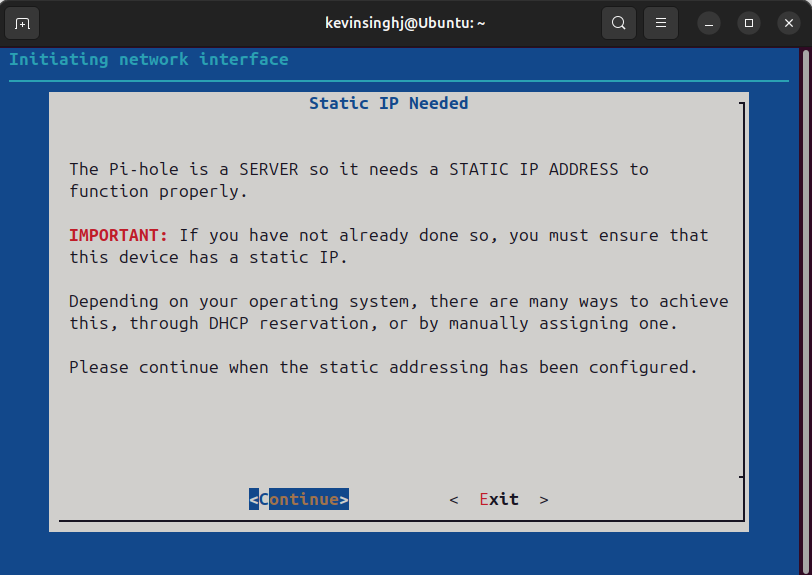
Once it’s done, a setup wizard will be shown. The images I have below are the options I chose (the setup I've done for my Pi-Hole). You can also do it as per your way.

PiHole is a server that needs Static IP address, you can either configure it directly on the machine or in the router. I’ll be doing that on the router, so I'll be doing that shortly.
I’m going to be choosing CloudFare as my upstream DNS now but I might change it later to something else.

I definitely do need to enable query logging, because I want to see which queries are being missed. If for example i am hitting a website that i feel should be blocked, i can be able to see it in the log

You can get to choose the privacy mode, to determine how much information is logged. Ii my case, it’d be my private devices at home so i’m going to be choosing Show Everything

The installation now will take a few minutes to be completed

Below image is shown once the installation is completed, the url of our PiHole portal is given and also the login password to it, please note that username is not needed to login

If you’ve missed to take down the password, after you click OK (as per above image), you can obtain the password from the terminal afterwards as shown in the image below.

Next thing to do is to run a command (which is a way to look at domain names). The command would be dig@127.0.0.1 youtube.com in which i want to use the local machine as the dns service

The result shows that the domain name server (DNS) on this machine is working as it’s giving me the ip address of youtube.com which is 172.217.166.142
Basically i’ll be just using my machine as a test to see how my Pihole is going to be working instead of getting it integrated across my entire network
So on my Ubuntu machine, I'll be changing the dns to its IP (where my PiHole is) and get it tested.
Upon checking it on terminal, my IP is 10.0.2.15

So i’ll get my DNS to be 10.0.2.15
Way to achieve this is to right-click on the connection you’re connected to and get it changed under the settings. It’s generally the same thing across all operating systems.

After doing the changes, I'll need to verify the workability of my PiHole server. So i’ll be googling Green GShock Rangeman and i should not be able to view it from the shopping list.

It doesn’t show up on the page when I click on it, as the domain googleadsservices.com is being blocked by the PiHole server.
To reconfirm this, i should run the command of dig @127.0.0.1 googleadservices.com

And as we can see, it has returned 0.0.0.0 (so it’s basically there’s nothing here). That’s essentially how the blocking works.
Setting up static IP
Next up, before we unblock googleadservices.com in our PiHole server, let’s ensure that our PiHole server will be getting a static IP. I would be doing that through my router.
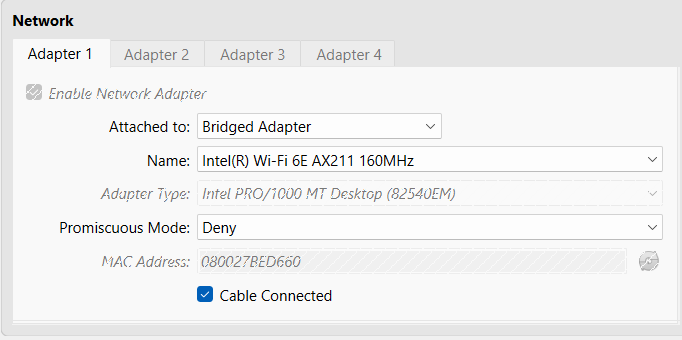
Since i am running Ubuntu as a virtual machine, I have to ensure that the network adapter type has to be a Bridged Adapter (this can be done from the settings of VirtualBox). Only then the virtual machine would be treated as a real device on the LAN.
Now to go into the router’s configuration, we have to obtain our gateway. Which we can through the command ip route | grep default

As the result shown, our router’s IP (gateway) is 192.168.100.1
So i’ll go over to the browser to access my router’s login page, which would be through https://192.168.100.1:80

The password will usually be at the bottom of your modem/router, so you can obtain it there.
Just a note that i can actually set the primary DNS here to be my PiHole server

But i don’t wish to as it would be enforced network wide, which would be to all the devices at my home. For this article’s purpose, I'm going to set the PiHole DNS only on my device.
So getting back to setting the static IP in the router’s configuration, i have manually set my IP on the ubuntu machine to be 192.168.100.2

And then on the router configuration, i’d be setting the dhcp pool to be from 192.168.100.3 to 192.168.100.254, it’ll exclude below 2 IPs:-
192.168.100.1- which is for the router
192.168.100.2 - which is for my PiHole server

Accessing PiHole Dashboard
Now we should access our PiHole dashboard to unblock googleadsservices.com
To access the portal, simply go to [PiHole IP]/admin/login, in my case it’d be 192.168.100.2/admin/login
On the login page, put in the password that was shown during the initial setup

I’m logged in successfully

For now I'd get googleadsservices.com unblocked. To achieve that, we can go to domains as highlighted on image above

And then we can insert googleadservices.com in the column and click on Add to allowed domains
So now if i run the command dig@127.0.0.1 googleadservices.com , it’s resolving to an IP

So now I should be able to access the link for the Green GShock Rangeman that I was interested in.
PiHole AdLists
Currently, there’s only 1 adlist which is being in place, as can be seen on my PiHole dashboard below
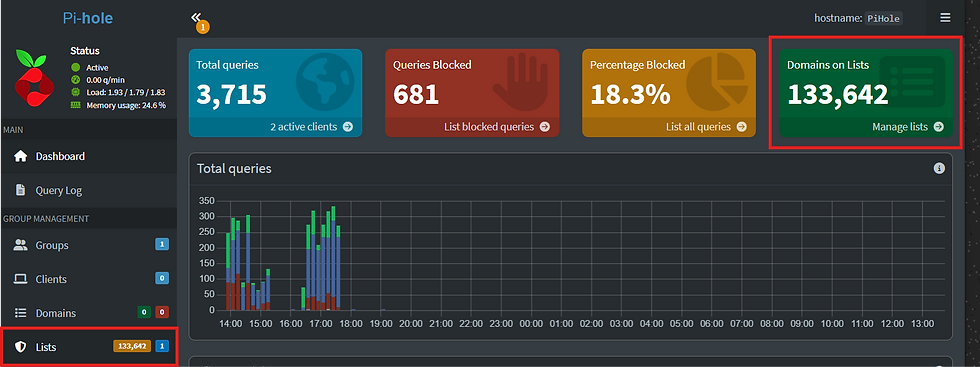
There are 133,642 domains in the list that are being blocked but I would like to add more lists to have more blockings of unnecessary websites. To achieve that, i can go over to https://firebog.net/

As you can see the title, it’s The Big Blocklist Collection. The lists which are ticked are pretty much safe to be used and they’re not going to disrupt your browsing experience too much. I will also recommend only using those lists.
To easily copy and paste them, click on the link found here that i have underlined as below image

And then click on Ticked lists

Once it’s opened up, select all to copy it

And go over to PiHole dashboard, click on Lists from the left side menu and paste it on the Address bar and click on Add allowlist

Then you’ll be prompted that the adding has been successful

But as you can see below, it’s not going be updated successfully till we don’t run the command pihole -g

Here i’m running the command pihole -g and it’ll not take too long to get completed

And as you can see in the dashboard now, there are more domains than before and there are 28 lists in place

After this is done, i’ll be visiting dailymail.uk as this site is heavily loaded with ads

And as you can see, there are no ads shown
That’s all I would like to have in this article. I might come up with another on more things that we can achieve through PiHole